Fairly new to this..now just to figure out how all of this works...
So after finishing my Shepard costume (sadly i dont have a progress build) I've been thinking of working a rifle to go with it.Ill be using the same material as ive used for my costume and that is Eva foam which you can get from any better supplied material shop i guess? In my country its QUITE hard to find, and the only ones that i could find were the puzzle/textured mats in different colors,only in one thickness (10mm) so ill be using that durring the entire build, and adding detail by sanding those parts.
For those who dont know how this material looks (though im pretty sure most of you do) it comes in squares with one textured side and other smooth.
Ive been using this as reference as its the best looking m8 rifle ive seen so far, also of course with the help of my mini m8 rifle i have with my Shepard action figure.
Progress build of my m8 rifle
Drew out the template on some spare paper i had from projects, also doodled schematics and how parts would fit..Along with my mini rifle for help ;3
 |
| my eva foam is a bit smaller than the regular size, so only the base fit..Also i think i may have made it slightly bigger than it should be, but what can i say..I love big guns. |
 |
| Rough shape cut out, 3 for the middle, 2 for the details, middle for the trigger |
 |
| Inserted some plastic strips to give the rifle some grip also to hold the metal and plastic pipe in place. |
 |
| Rough shape of the base of the rifle |
 |
| After a bit of sanding |
 |
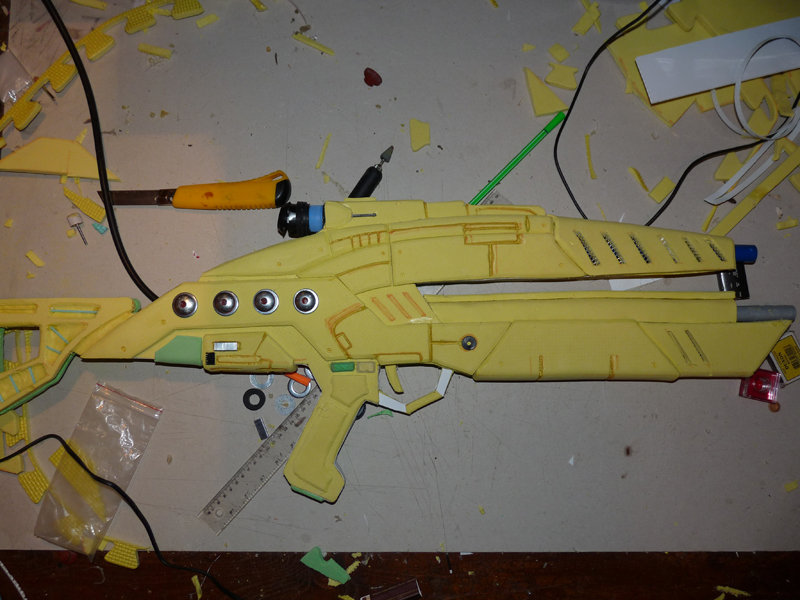
| Fiddled with details with my soldering iron and put addons i had laying around |
 |
| Deciding on the shape of the openings, went with the first one |
 |
| added some wire mesh to give the vents more realism |
 |
| added a strip to the metal pipe where the bottom part of the rifle would stick |
 |
| Almost done, few more details remaining |


No comments:
Post a Comment