Saturday 7 September 2013

Dead Space 2 Advanced Helmet Build finish

After letting the paint dry i finally got to my favorite part of making props. Painting..

I used acrylic paint to achieve the effects in the photographs, after that i sealed them with a clear coat of paintsealer. LED lights are in plan, after i figure out how to work them that is. This helmet is now in the hands of my friend and she was psyched to get it for her birthday ;D So it was a smashing success


+ some bonus schenanigans when i gave her the helmet


the success of her helmet also made me want to redo my own n7 one so ill be doing that in the future and redoing parts of my n7 armor... Also adding lights to it.


Dead Space 2 Advanced Helmet build progress

 So my ironman costume was put on hold due to exam, lack of motivation and the contest deadline for application being sooner than i thought so i scrapped it. For now.

My friend's birthday was coming up so i decided to do something special for her, and since she is a big dead space fan and we plan on making Isaac and Carver and fooling around in our costume, what the gift would be was pretty obvious.

The entire build took me around a week or so to build, mostly because i didnt have proper patterns for the helmet so i had to wing half of it, most of the parts didnt fit together perfectly and i had to do a lot of resizing and such.

I used forex (pvc plastic) for the white parts, eva foam for the blue parts.

i used the official sculpture for reference on some details and the paint scheme


onto the build.
the start is always the easiest ;d


the sides warped too much so i aded white pieces of pvc to hold them up which i glued in later to make the sides more straight


the black pieces of plastic are actually case holders for PC processors, i have a lot of them laying around so i decided to use some since they have quite a nice bit of texture and shape. the screw shapes were actually beads from a bracelet i had lying around which also looked like somekind of spacey-screws.

TIP: collect random stuff, i have a whole case of useless accessories like this which may come in handy while building props. If something has an interesting shape? Keep it.


Finally done with the building, now for the sealing
i used about half water half wood glue to seal the foam, also was careful not to paint over the white bits. Whiped them off with napkins after finishing with the sealing.

after the glue cured i proceeded with spraying over the primer color black


After this on to my fave thing - Painting.

Tuesday 7 May 2013

Iron man 3 - mk 42 build - day 1 helmet

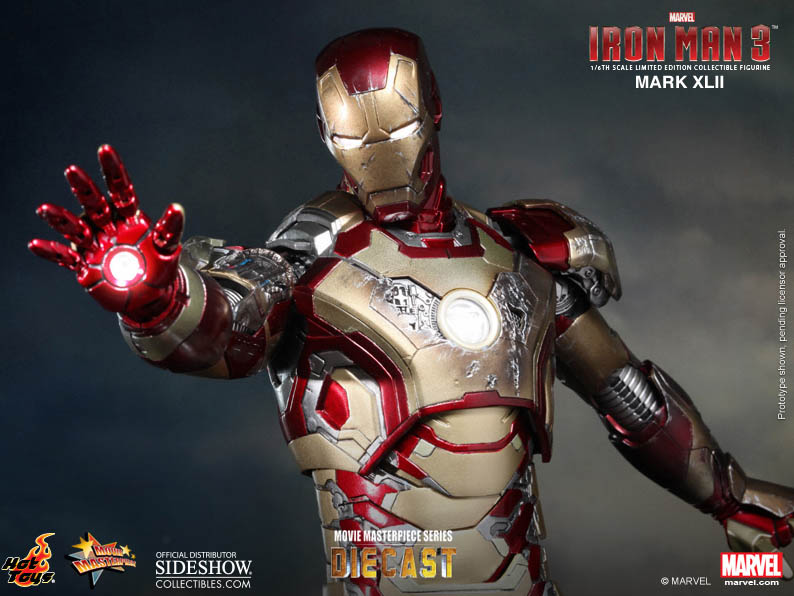
So ive been to the movies , watched iron man 3, and decided for my next project to be Iron man mark 42 armor. This is going to be tough, since ill be using new materials also, LED's.


Im using pepakura files found here, for the base /start, and ill be using  forex (plastic sheets) and eva foam for the most of the armor.

first and primary im using the PVC plastic called Forex or Sintra , they are thin sheets of plastic, found in hardware stores, i got mine in a storage shop, the size of the sheet is around 1x2m (Forex ), 2nd is eva foam which can be found in form of puzzle mats  or rolls commonly used for beach or yoga i think.

Day 1 - Helmet

After printing out the patterns on paper i started to cut them out from forex


Im using masking tape to keep the parts together to see if they fit

Also a helpfull tip, careful with heat gun, it  tends to  bend the PVC quite fast, in certain ways you dont really wish them to bend...

Using scraps of eva foam to fill in the 'thickness'  since the sintra is only 1mm thick

first blood, be carefull while cutting.... >>

Im gluing all this with hot glue, which is  kind of neat since it melts the plastic slightly and bends the edges, but also, can leak out. So i tape the front of the gap i need to merge so the excess glue doesnt leak out

Then fill in the inside with hot glue, without worrying it will drip in between and onto the outer side


Work so far, im still having a bit of trouble of the faceplate fitting the helmet, but it will probably set in when i install the hinges/mechanism that will hold it and move the plate off my face when i want it to.

i will also be filling in the gaps and bends wtih bondo so im not that worried about the slight bends in few places.