So my ironman costume was put on hold due to exam, lack of motivation and the contest deadline for application being sooner than i thought so i scrapped it. For now.
My friend's birthday was coming up so i decided to do something special for her, and since she is a big dead space fan and we plan on making Isaac and Carver and fooling around in our costume, what the gift would be was pretty obvious.
The entire build took me around a week or so to build, mostly because i didnt have proper patterns for the helmet so i had to wing half of it, most of the parts didnt fit together perfectly and i had to do a lot of resizing and such.
I used forex (pvc plastic) for the white parts, eva foam for the blue parts.
i used the official sculpture for reference on some details and the paint scheme
onto the build.
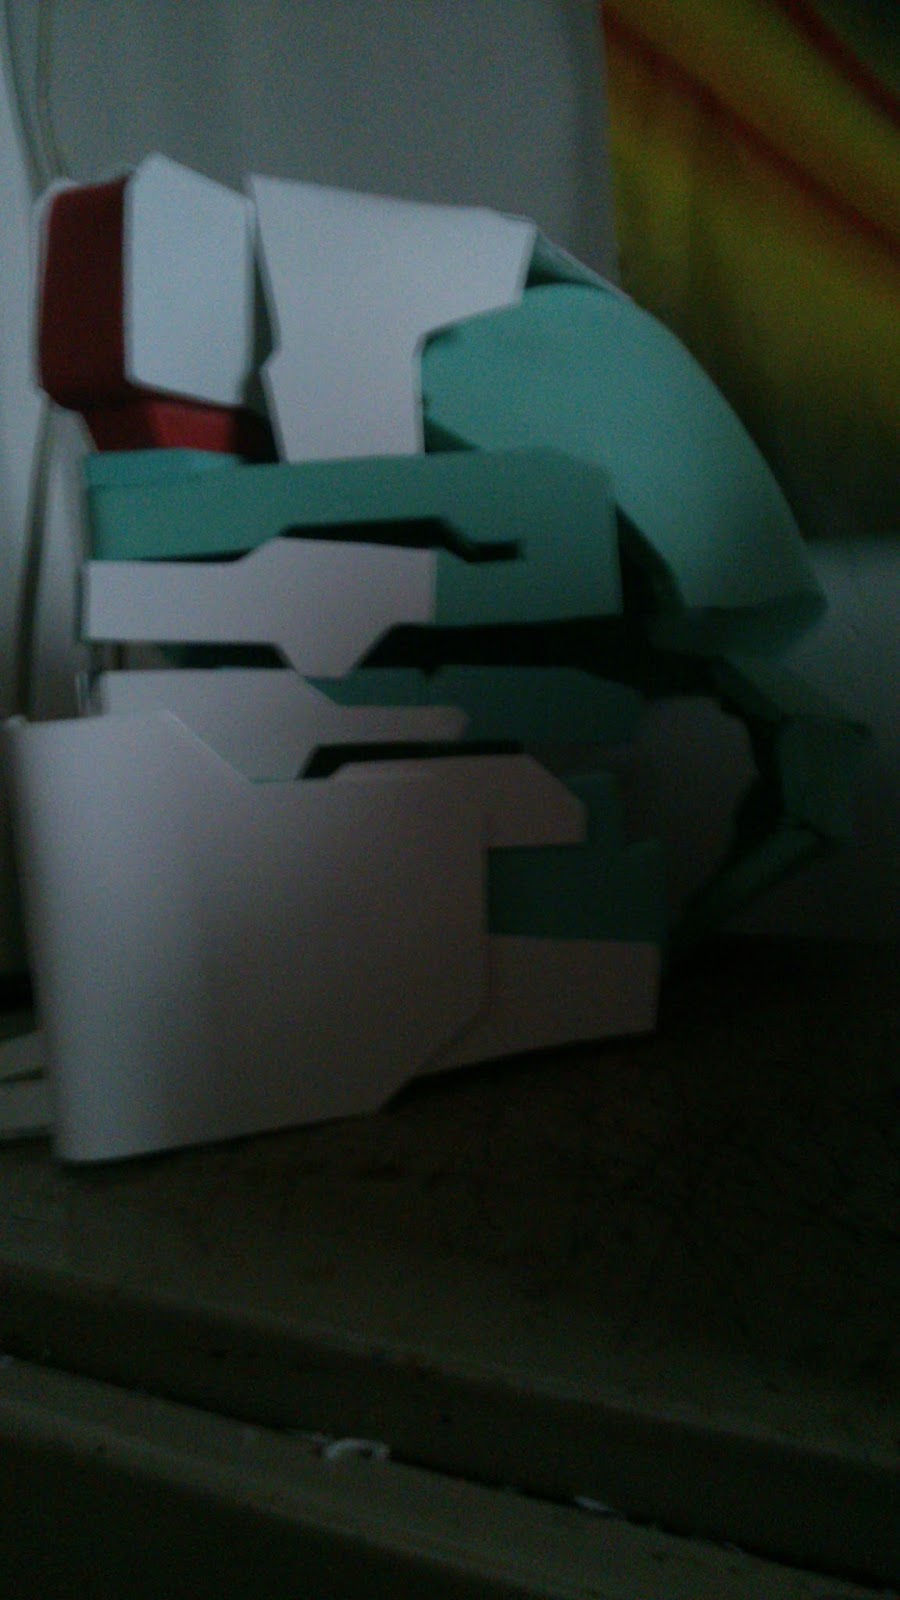
 |
| the start is always the easiest ;d |
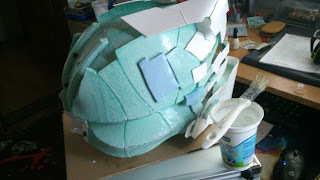
 |
| the sides warped too much so i aded white pieces of pvc to hold them up which i glued in later to make the sides more straight |
 |
the black pieces of plastic are actually case holders for PC processors, i have a lot of them laying around so i decided to use some since they have quite a nice bit of texture and shape. the screw shapes were actually beads from a bracelet i had lying around which also looked like somekind of spacey-screws.
TIP: collect random stuff, i have a whole case of useless accessories like this which may come in handy while building props. If something has an interesting shape? Keep it. |
 |
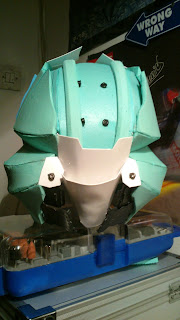
| Finally done with the building, now for the sealing |
 |
| i used about half water half wood glue to seal the foam, also was careful not to paint over the white bits. Whiped them off with napkins after finishing with the sealing. |
after the glue cured i proceeded with spraying over the primer color black
After this on to my fave thing - Painting.